Why the Order Matters
If you have ever wondered whether you should brush your teeth before or after whitening strips, you are not alone. It is one of the most frequently asked questions about at-home teeth whitening, and the answer has a real impact on both your results and your comfort. The order in which you brush relative to applying whitening strips affects how well the peroxide gel adheres to your enamel, how deeply it penetrates, and how much sensitivity you experience afterward.
Whitening strips work by delivering a layer of hydrogen peroxide or carbamide peroxide gel directly onto the surface of your teeth. For that gel to do its job effectively, it needs uninterrupted contact with clean, dry enamel. Anything that creates a barrier between the gel and the tooth surface, including plaque, food debris, or a layer of toothpaste residue, reduces the concentration of peroxide reaching the enamel and diminishes the whitening effect.
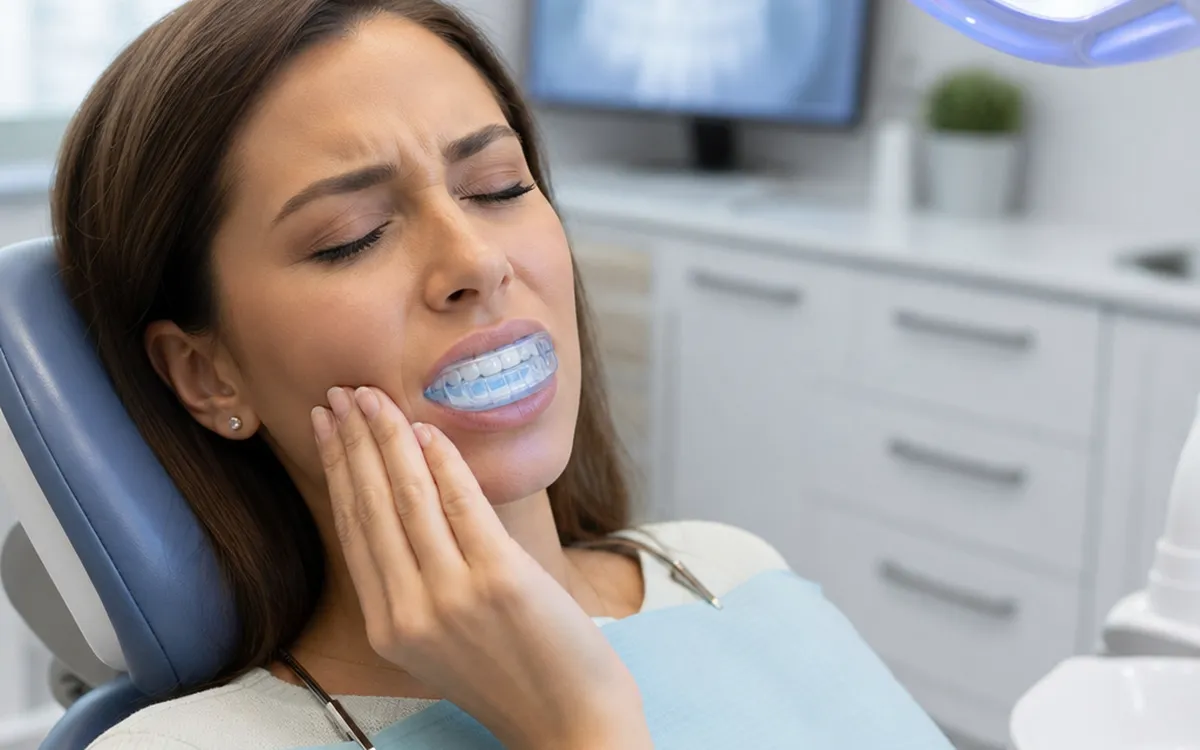
At the same time, brushing at the wrong moment can increase sensitivity. The peroxide in whitening strips temporarily opens microscopic pores in the enamel, and brushing immediately afterward can drive abrasive particles into those exposed pathways, irritating the nerve inside the tooth. Understanding the correct sequence is the difference between a comfortable, effective whitening session and one that leaves your teeth aching with little visible improvement to show for it.
Should You Brush Before Whitening Strips?
Yes — brushing your teeth before applying whitening strips is strongly recommended by dental professionals. Here is why it matters and how to do it correctly.
1. Plaque and debris create a barrier. Throughout the day, a thin film of plaque accumulates on your teeth. If you apply whitening strips over plaque, the peroxide gel bonds to the plaque layer rather than the enamel underneath. The gel has to work through the biofilm before it can reach the tooth surface, which means a lower effective concentration and uneven whitening. Areas with heavier plaque buildup may barely lighten at all, leaving you with a patchy, inconsistent result.
2. Food particles interfere with adhesion. Whitening strips rely on direct contact with the enamel to stay in place and deliver the gel evenly. Food debris, especially sticky or fibrous remnants, prevents the strip from lying flat against the tooth. Gaps between the strip and the enamel allow saliva to seep in, diluting the peroxide and further reducing its effectiveness. Brushing removes these particles and gives the strip a smooth, clean surface to adhere to.
3. Clean enamel absorbs peroxide more evenly. When the enamel is free of plaque and debris, the peroxide gel contacts the tooth surface uniformly. This consistency is what produces even, predictable whitening across all of the treated teeth. Without brushing first, some teeth may lighten more than others simply because the gel reached the enamel more effectively in some areas than others.
4. Brushing before reduces the risk of uneven whitening. The most common complaint about at-home whitening strips is that the results look uneven or spotted. In most cases, the cause is inadequate surface preparation. If you brush thoroughly before applying the strips, you eliminate the most common source of uneven whitening and give yourself the best chance of a uniform, natural-looking result.
Should You Brush After Whitening Strips?
This is where many people get confused. The short answer is: wait at least thirty minutes to an hour after removing whitening strips before brushing your teeth. Here is why the delay is essential.
Enamel porosity after whitening. The peroxide in whitening strips works by penetrating the enamel and breaking down stain molecules inside the tooth. During this process, the enamel becomes temporarily more porous. The microscopic tubules that connect the enamel surface to the dentin layer underneath are more open than usual. If you brush immediately after removing the strips, the abrasive particles in your toothpaste can enter these open tubules and irritate the nerve inside the tooth, causing sharp sensitivity or a dull ache that can last for hours or even days.
Saliva naturally neutralizes peroxide residue. After you remove whitening strips, a thin layer of peroxide gel remains on the enamel surface. Your saliva acts as a natural buffer, gradually neutralizing the peroxide and beginning the process of remineralization. Brushing immediately rinses away this protective saliva layer and can physically push residual peroxide deeper into the enamel before it has been neutralized, which intensifies sensitivity.
Rinsing is safer than brushing. Instead of brushing right away, gently rinse your mouth with lukewarm water to remove the leftover gel. A saltwater rinse (half a teaspoon of salt in a glass of warm water) can be especially soothing — the salt helps neutralize residual peroxide and reduces gum irritation. If you feel compelled to freshen your breath, a gentle, alcohol-free mouthwash is acceptable, but avoid anything with high acidity or strong astringents.
Wait at least thirty minutes. After thirty to sixty minutes, your enamel has begun to re-harden and the peroxide residue has been neutralized. At that point, brushing is safe and even beneficial — it removes any remaining gel, cleans the surface, and applies fluoride to help the remineralization process along. Use a soft-bristled brush and a desensitizing or fluoride toothpaste for the first brush after whitening.
The Ideal Routine: Step-by-Step
Now that we have covered the reasoning, here is the complete, dentist-recommended routine for using whitening strips effectively:
Step 1 — Brush before. About twenty to thirty minutes before applying your strips, brush your teeth thoroughly with a soft-bristled toothbrush and a regular fluoride toothpaste. Do not use a whitening toothpaste at this stage — the extra abrasives can roughen the enamel surface and increase sensitivity once the peroxide is applied. Focus on removing all visible plaque and food debris, especially between the teeth and along the gumline.
Step 2 — Floss. Flossing before whitening strips removes trapped food and plaque from between the teeth, areas where strips often have the weakest contact. If debris is left between the teeth, the peroxide gel cannot reach the interproximal enamel, and you may end up with darker edges between your teeth after whitening.
Step 3 — Dry your teeth. Use a clean tissue or gently bite down on a cotton roll to remove excess saliva from the front surfaces of your teeth. The strips adhere better and the gel is more effective on a relatively dry surface. You do not need to achieve bone-dry teeth — just remove the visible layer of moisture.
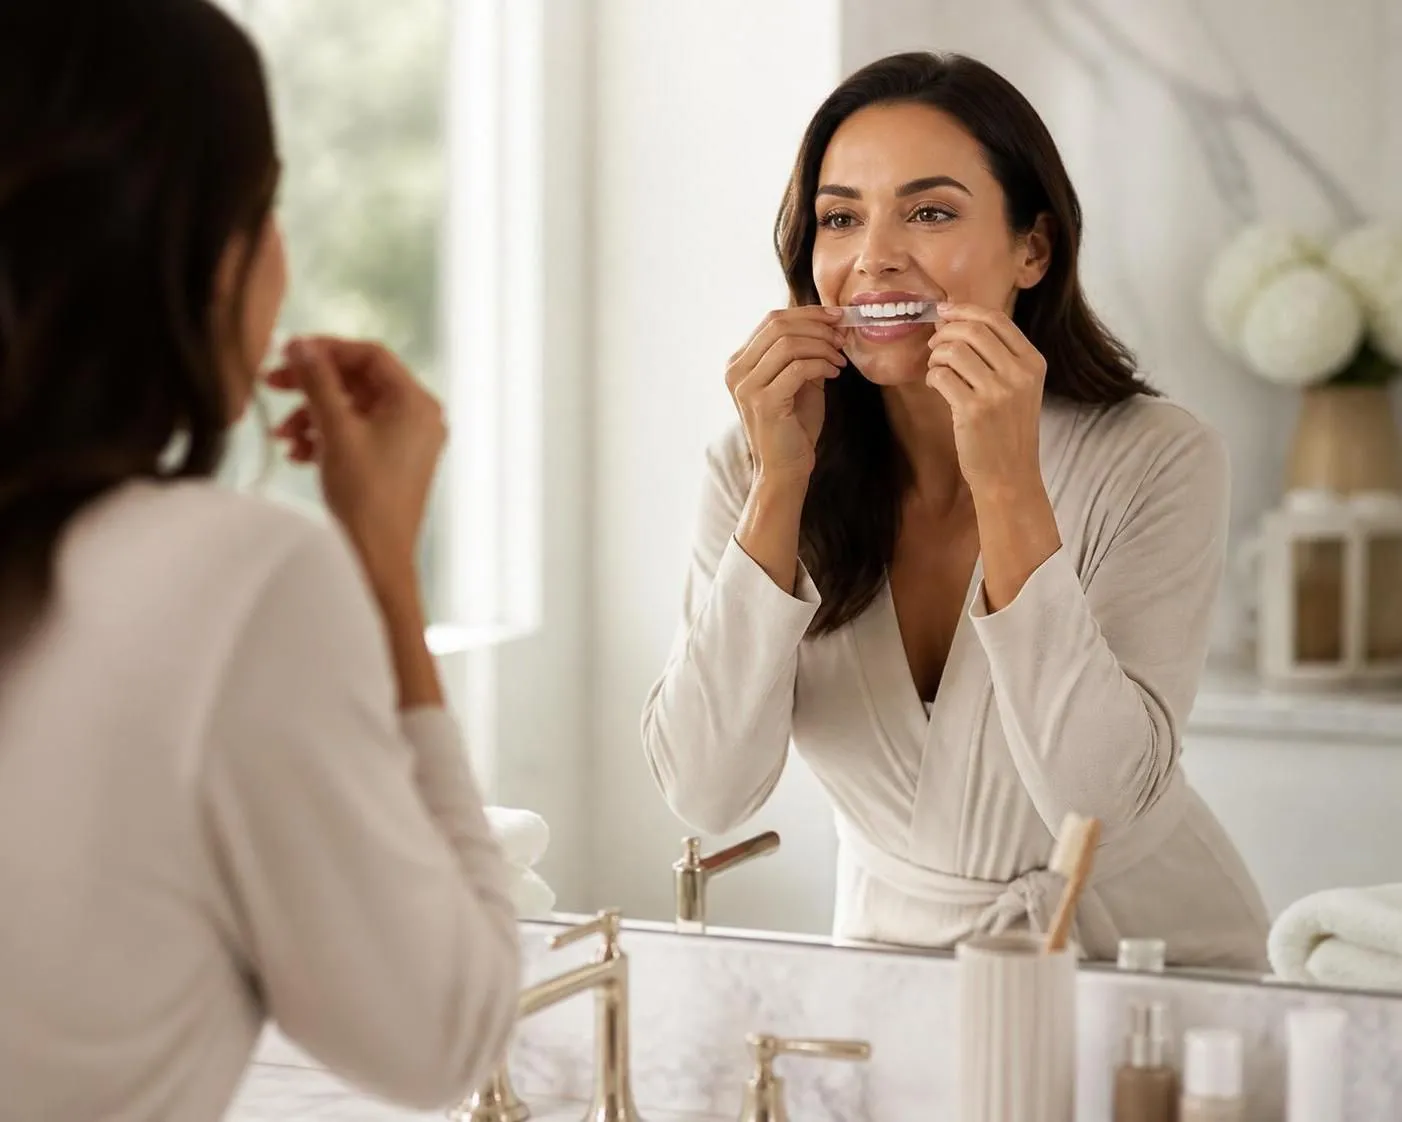
Step 4 — Apply the strips. Follow the product instructions carefully. Align the strip with your gumline and press it gently onto the teeth, folding the excess behind the teeth. Make sure the strip lies flat with no bubbles or gaps. The better the contact, the more even the whitening.
Step 5 — Wait the recommended time. Do not exceed the recommended wear time. Leaving strips on longer than directed does not produce better results — it only increases the risk of sensitivity and gum irritation. Most over-the-counter strips are designed for thirty to forty-five minutes of wear.
Step 6 — Remove and rinse. Peel the strips off gently and rinse your mouth thoroughly with lukewarm water. Do not brush yet. If you feel sensitivity, a saltwater rinse can help soothe the enamel and gums.
Step 7 — Wait, then brush. After thirty to sixty minutes, brush your teeth gently with a soft-bristled brush and a fluoride or desensitizing toothpaste. This helps remove any lingering gel, strengthen the enamel with fluoride, and restore the smooth, clean feeling in your mouth.
Common Mistakes to Avoid
Even with the right sequence, certain habits can undermine your whitening results or cause unnecessary discomfort. Here are the most common mistakes dental professionals see:
Brushing immediately after the strips. As discussed, this is the single most damaging mistake. The combination of abrasives on temporarily porous enamel can cause micro-scratches and intense sensitivity. Always wait.
Using whitening toothpaste before strips. Whitening toothpaste contains mild abrasives and sometimes low concentrations of peroxide. Using it right before applying strips compounds the peroxide exposure and increases the chance of irritation without adding meaningful whitening benefit.
Applying strips right after eating acidic food. Acidic foods and drinks — citrus, soda, wine, vinegar-based dressings — temporarily soften the enamel. If you apply peroxide gel to softened enamel, the risk of sensitivity and enamel erosion increases significantly. Wait at least thirty minutes after eating anything acidic before applying whitening strips.
Leaving strips on too long. More time does not equal more whitening. Once the peroxide in the strip has been depleted (typically within the recommended wear time), leaving the strip on simply exposes your enamel to a damp, acidic environment without any additional benefit. Follow the manufacturer's instructions precisely.
Overlapping strips onto the gums. The peroxide gel that makes whitening strips effective on enamel can irritate the soft tissue of your gums. When applying strips, position them just below the gumline without overlapping onto the gingiva. If gel contacts your gums, wipe it away immediately with a tissue or your finger.
Drinking dark beverages immediately after whitening. Your enamel is more porous and more susceptible to staining in the hours after a whitening session. Coffee, tea, red wine, cola, and dark juices can re-stain the teeth while the enamel is in this vulnerable state. Avoid dark beverages for at least four to six hours after using strips, or drink them through a straw to minimize contact.
Whitening Toothpaste and Strips: Do They Work Together?
Whitening toothpaste is one of the most popular oral care products on the market, and many people use it alongside whitening strips hoping to amplify their results. The reality is more nuanced than the marketing suggests.
Whitening toothpaste works primarily through mechanical action — mild abrasives like hydrated silica scrub away surface stains as you brush. Some formulations also include a low concentration of peroxide (typically around one percent), but the contact time is far too short for the peroxide to penetrate the enamel effectively. You brush for two minutes and rinse; the peroxide in whitening toothpaste simply does not have enough time to work the way it does in strips or in-office treatments.
Using whitening toothpaste and strips on the same day compounds your peroxide exposure without significantly improving your results. The abrasives in the toothpaste can also roughen the enamel slightly before you apply the strips, increasing the risk of sensitivity. A better approach is to use a regular fluoride toothpaste on the days you apply strips and reserve the whitening toothpaste for the days between treatments. This way, the whitening toothpaste helps maintain your results by removing new surface stains without interfering with the deeper action of the strips.
If you are looking for a whitening toothpaste that is gentle enough for regular use, look for one with the Canadian Dental Association (CDA) Seal of Recognition. Products that carry this seal have been independently tested for safety and efficacy, and they meet a higher standard than those without it.
The Best Way to Whiten Teeth at Home
If you are looking for the best way to whiten teeth at home, the answer depends on your goals, your budget, and the current condition of your teeth. Here is a breakdown of the most common at-home options, ranked by effectiveness:
Professional take-home kits (from a dental clinic). These kits include custom-fitted trays and a professional-grade peroxide gel that is stronger and more consistent than anything available over the counter. Because the trays are made from impressions of your teeth, the gel is distributed evenly and does not contact the gums. This is the most effective at-home option and produces results comparable to in-office treatment, though it takes longer (typically two to three weeks of daily wear).
Over-the-counter whitening strips. Strips are the most popular at-home whitening product for good reason: they are affordable, easy to use, and deliver noticeable results when used correctly. The key is following the proper routine — brush before, wait after — and being consistent with the full course of treatment. Most strip kits recommend daily application for ten to fourteen days. Results typically last three to six months depending on diet and oral hygiene habits.
Whitening pens and gels. These products allow you to paint peroxide gel directly onto the teeth. They are convenient for targeted application or quick touch-ups, but the gel does not stay in place as reliably as strips or trays. Saliva quickly dilutes the gel, and the contact time is short. They are best used as a supplement rather than a primary whitening method.
Whitening toothpaste and mouthwash. As discussed, these products remove surface stains mechanically but do not change the intrinsic colour of the teeth. They are useful for maintenance but not for meaningful whitening on their own.
Natural remedies (baking soda, activated charcoal, oil pulling). While baking soda can help remove surface stains due to its mild abrasiveness, activated charcoal is harsher than most people realize and can wear down enamel over time. Oil pulling has no credible scientific evidence supporting its effectiveness as a whitening method. None of these approaches penetrate the enamel the way peroxide does, and some carry risks of enamel damage. Dental professionals generally advise against using abrasive home remedies as whitening solutions.
When to Choose Professional Whitening
While at-home whitening strips can produce good results for mild to moderate staining, there are situations where professional treatment is the smarter choice. If your teeth are deeply stained from years of coffee, tea, or smoking, strips may not deliver the level of whitening you want. If you have tried strips and been disappointed by the results, a professional treatment can break through the plateau that over-the-counter products often hit.
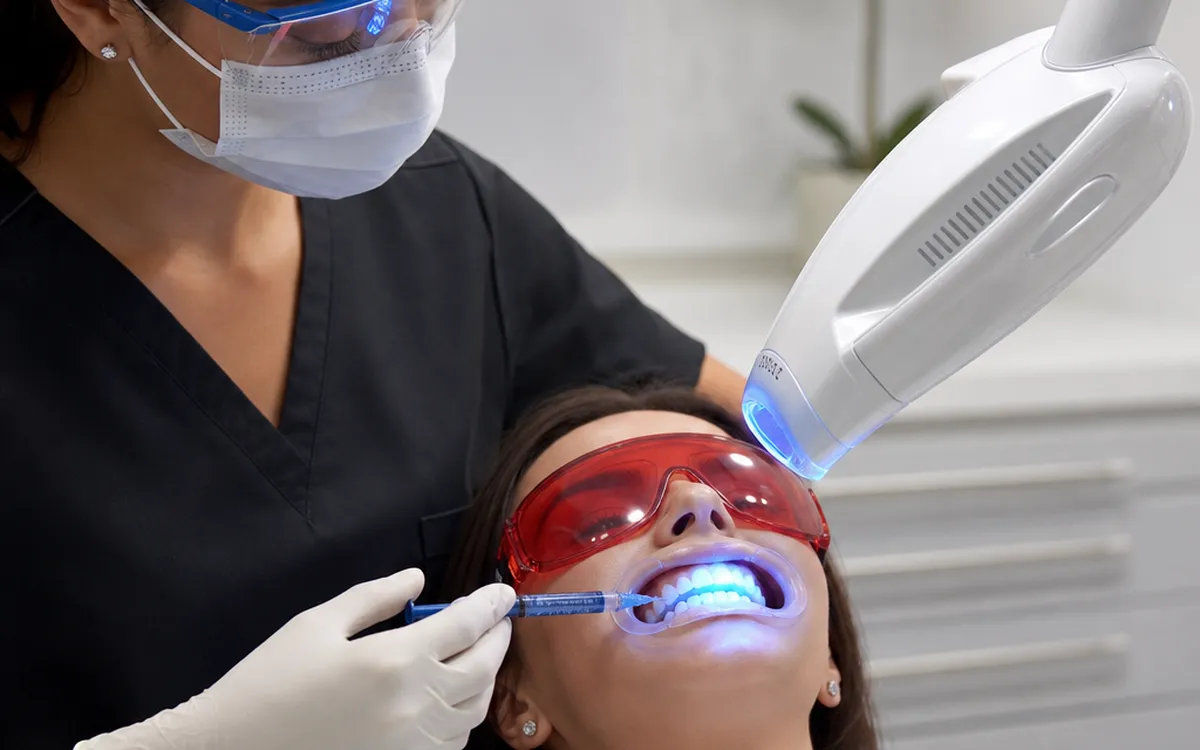
Professional teeth whitening at a dental clinic uses significantly higher concentrations of peroxide — up to twenty-five percent hydrogen peroxide compared to the six to ten percent in over-the-counter strips. The procedure is supervised by a dental professional who can protect your gums with a physical barrier and monitor the process to ensure safety and comfort. The result is a deeper, more dramatic whitening in a single one-hour session that would take weeks to achieve with strips.
Philips Zoom Whitening, for example, uses a proprietary LED light to accelerate the peroxide reaction, achieving up to eight shades of improvement in one appointment. The treatment includes an ACP (amorphous calcium phosphate) gel applied during and after the session to strengthen enamel and reduce sensitivity — something no at-home product can match.
You should also consider professional whitening if you have existing dental work — crowns, veneers, or bonding — that will not respond to peroxide. A dental professional can match the whitening to your existing restorations, ensuring a consistent colour across all of your teeth. At-home strips cannot make this distinction, and you may end up with natural teeth that are whiter than your crowns or veneers.
Why Choose Krystal Dental Hygiene for Teeth Whitening
Krystal Dental Hygiene offers Philips Zoom in-office whitening — the most widely trusted professional whitening system in dental clinics worldwide. Here is why our patients choose professional treatment over at-home options:
Dramatic results in one visit. A single Philips Zoom session at our clinic can lighten your teeth by up to eight shades in about one hour. That is the equivalent of two to three weeks of daily strip use, accomplished in a single lunch break.
Enamel protection built in. Philips Zoom includes ACP gel, which strengthens enamel and reduces sensitivity during and after treatment. You walk out with whiter teeth and a protected enamel surface — not the porous, sensitive feeling that often follows at-home strip use.
Professional supervision. Every session is performed by a registered dental hygienist who evaluates your enamel health before treatment, applies a gum barrier for protection, and monitors your comfort throughout the process. If at any point the whitening needs to be adjusted, we can respond immediately — something strips cannot do.
Consistent, even whitening. The LED light and professional-grade gel ensure that every tooth receives the same concentration of peroxide for the same duration. There is no risk of the uneven, patchy results that are common with at-home strips.
Long-lasting results. With proper care, Philips Zoom results can last one to two years before a touch-up is needed. We also offer a whitening touch-up service for returning patients who want to maintain their brightness without a full session.
Ready for a whiter smile in one hour instead of two weeks of strips? Book your Philips Zoom whitening appointment today.
Book Your Philips Zoom Whitening
Up to 8 shades whiter in one hour. Professional-grade results with enamel protection built in.